Setup
The settings have to be configured for each company. The necessary settings are explained below to provide a general understanding.
| Step | |
|---|---|
| 1 | Create Bank Connection |
| 2 | Initialize Bank User |
| 3 | Add Authorized Users |
| 4 | Assign to Bank Account |
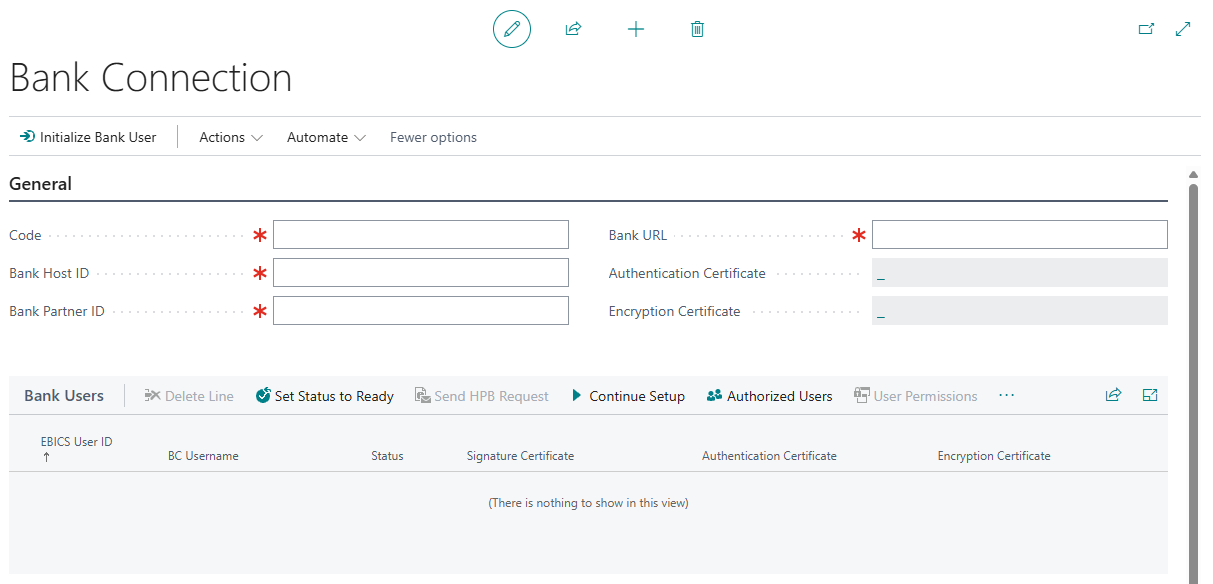
1. Create Bank Connection
A bank connection must be configured for each bank that uses EBICS. You can find the “Bank Connections” page using the search bar or in the EBICS menu in the accountant's role center.

When adding a new bank connection, all fields marked with a red asterisk must be filled in, starting with the code (unique identifier for the bank connection). The fields “Bank Host ID,” “Bank Partner ID,” and “Bank URL” are provided by the bank.
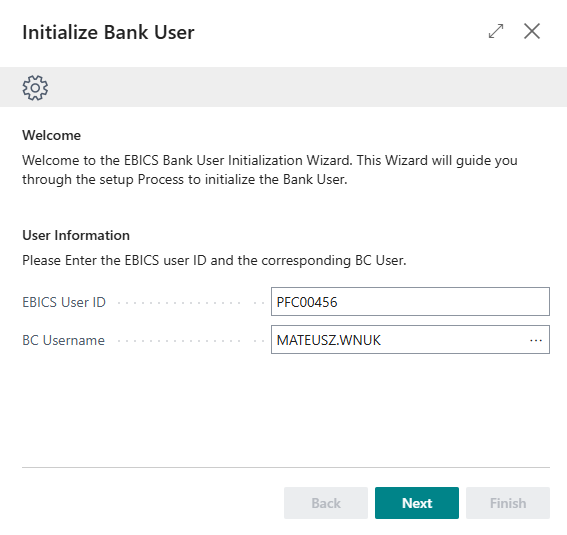
2. Initialize Bank User
In order to add EBICS User click on "Initialize Bank User". This action will open Wizard that will guide you through User Initialization.

User Information
Firstly enter "EBICS User ID" (this ID must be provided to you by Bank) and assign Business Central User for this EBICS User. The BC User entered here will be permissed for this EBICS User and will be able to manage permissions.
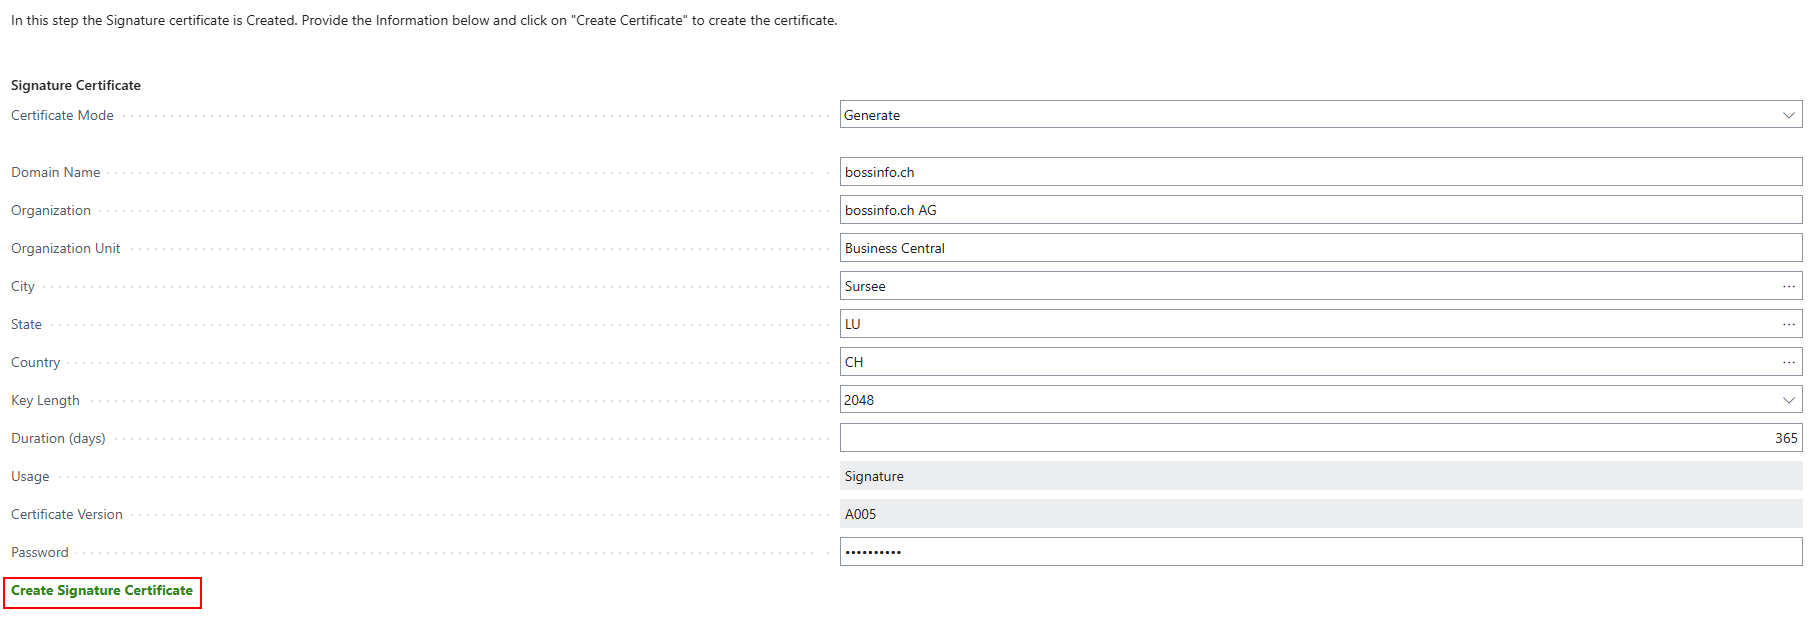
Certificates
As next three certificates Signature, Encryption and Authentication have to be assigned to the User. Those can be either generated inside of Business Central or imported. When generating certificate in Business Central following fields have/can be filled:
| Field | Description | Mandatory | |
|---|---|---|---|
| Domain Name | The fully qualified domain name (e.g. bossinfo.ch). | Yes | |
| Organization | Legal company name (e.g. bossinfo.ch AG). | No | |
| Organization Unit | Division or department of company. (e.g. Business Central) | No | |
| City | Company locality/city. | No | |
| State | No | ||
| Country | 2 character country code such as CH. | No | |
| Key Length | Number of bits used for private key. Minimal: 2048, Maximal: 8192. Recommended 2048. | Yes | |
| Duration (days) | Validity duration of the certificate in days. Recomemended 365 | Yes | |
| Password | Password that will protect you certificate Informations. | Yes |
After entering all information, click "Create Signature Certificate"
Information
We recommend a duration of 365 days, as certificate renewal is not yet integrated into bossEBICS.
If you have already created certificates, you can import them as well. Enter the certificate password and then import the certificate by clicking "Select Certificate File *(PFX/P12)".

Information
Due to limitations in Business Central, certificates in CNG format are not supported during import.
Important
The password entered for the certificate is not visible to the user, the administrator, or the developer. Be sure to remember the password.
Send Certificates
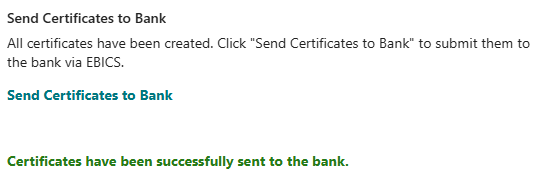
Next, send the certificates to the bank by clicking on "Send Certificate to Bank"

Once the certificates have been successfully transferred, you will receive the following message "Certificates have been successfully sent to the bank."
Print Letters
Certificates sent to the bank via the EBICS channel must also be posted to the bank for verification of their authenticity. The bank should provide you with the address to which the letter should be sent. Letters can be created by clicking on "Print Signature Certificate" and "Print Encryption & Authentication Certificates". Both letters must be signed and sent to the bank.
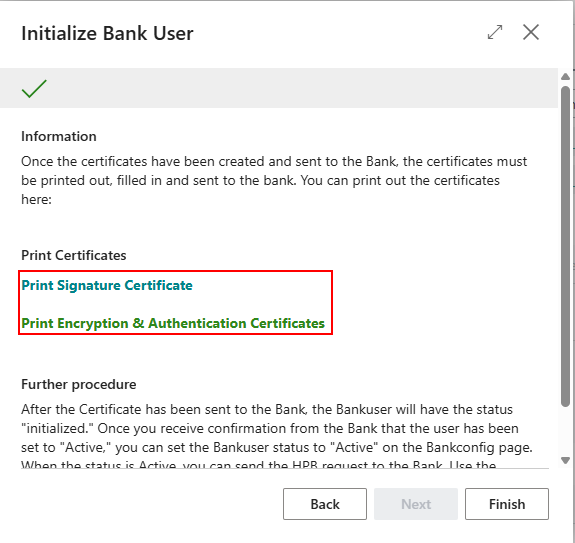
After you've printed the letters, you can close the wizard.
Set Status to Ready
Once you have received confirmation from the bank, you can set the Bank User's status to "Ready" by clicking on "Set Status to Ready".
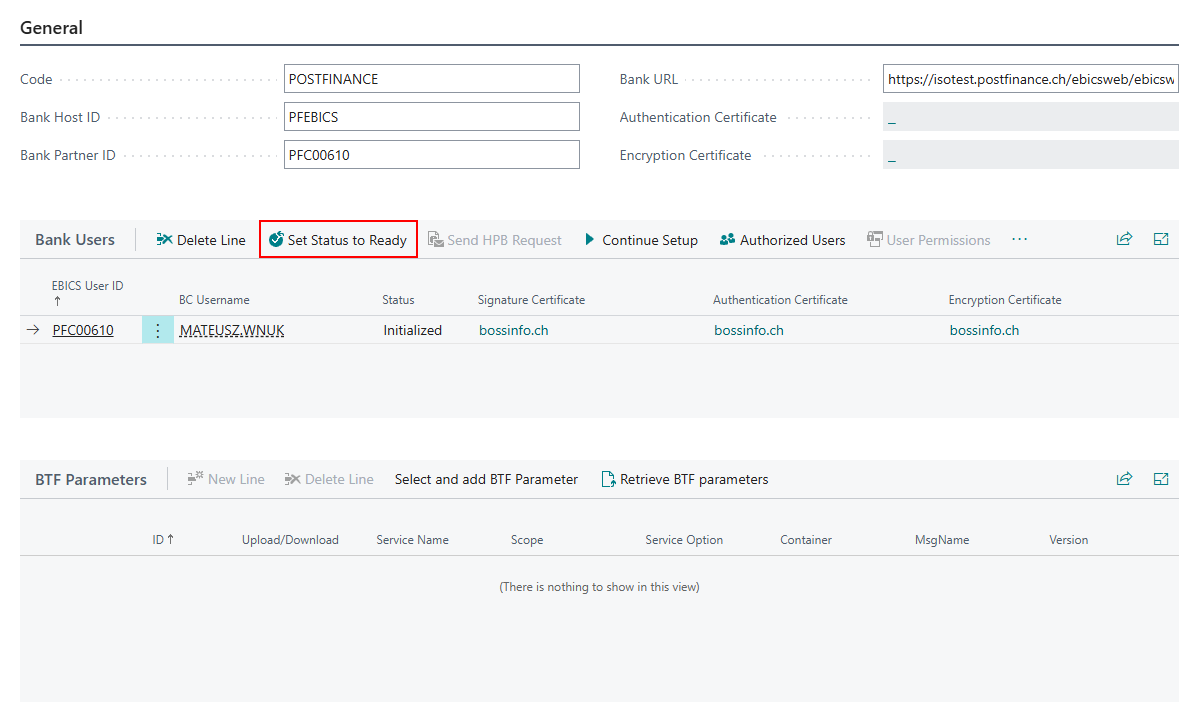
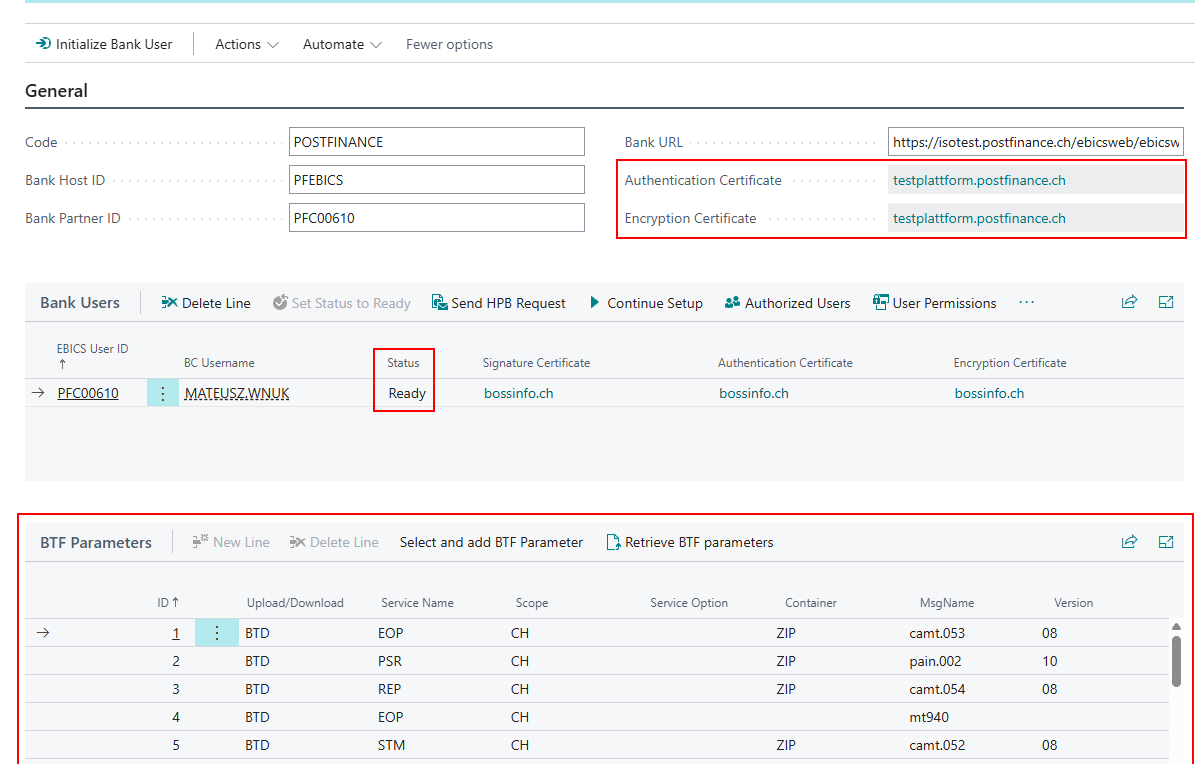
This process sets the User status to "Ready" and retrieves the bank certificates and Users permissions from the bank.
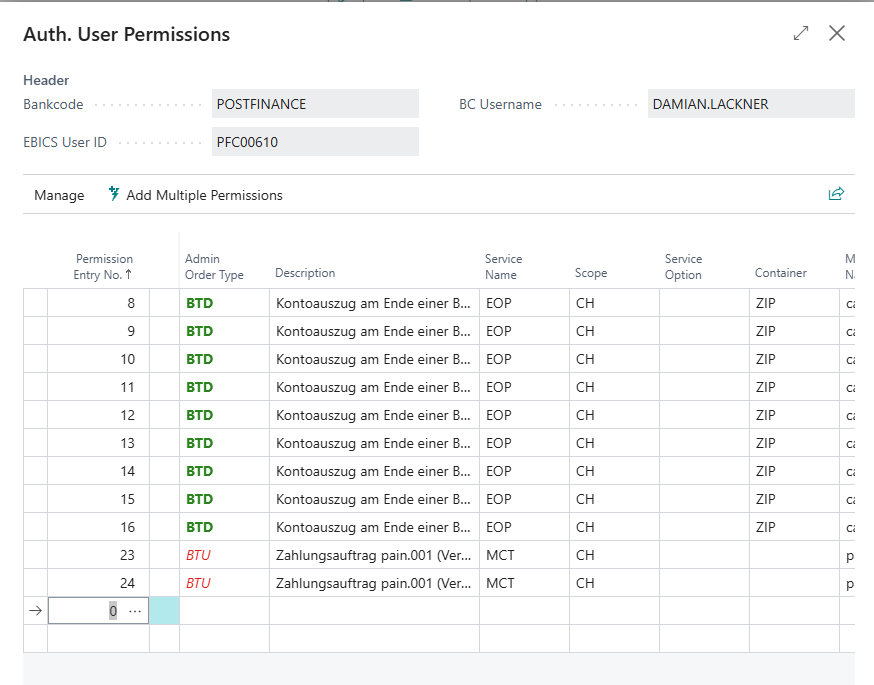
3. Add Authorized Users
In Business Central, you can authorize additional users for a specific EBICS user. To do this, click the "Authorized User" action and add Business Central users.


To set detailed user permissions, click "Detailed User Permissions". Here, you can specify which orders this user is authorized to process. If nothing is specified, the user is authorized to process any order.

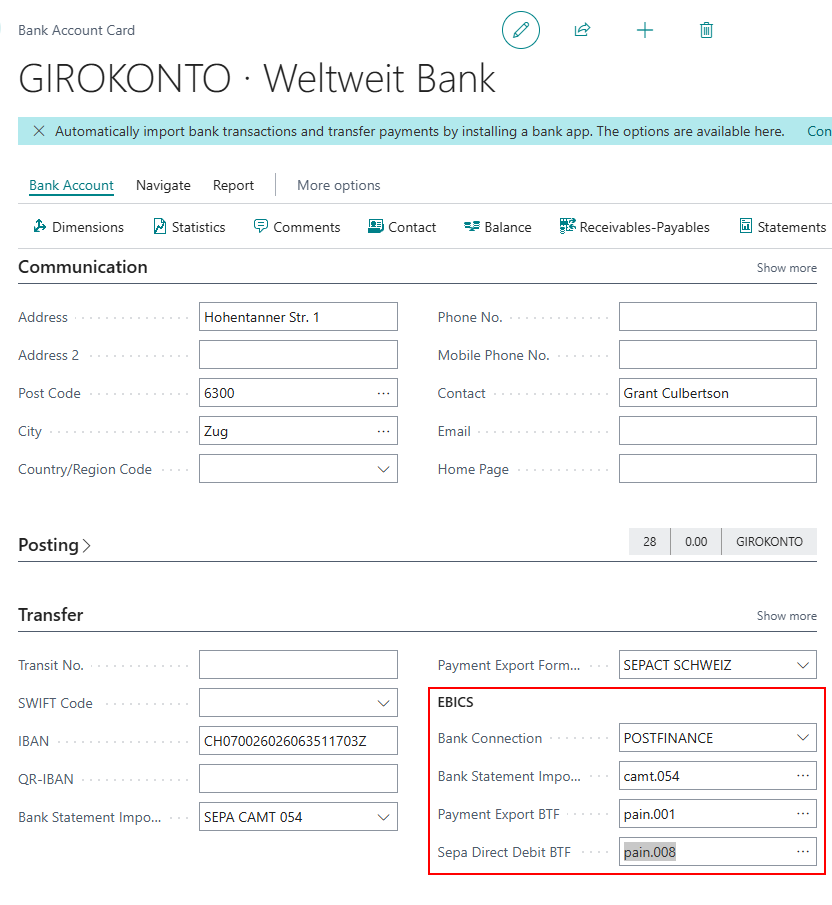
4. Assign to Bank Account
To connect bossEBICS to standard payment import/export processes, add a bank connection to the bank account and specify the bank transaction formats.